 by
by 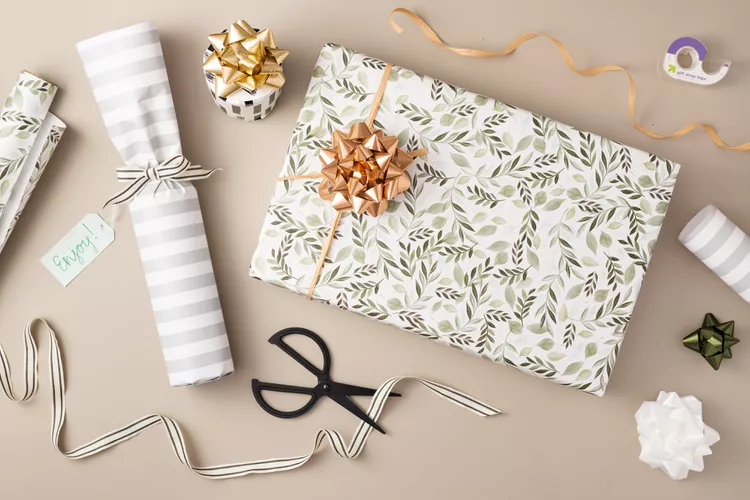
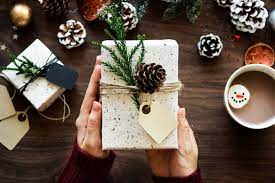
Whether you’re wrapping a birthday or holiday gift, a beautifully wrapped package adds to the joy and excitement of receiving a gift. Some shapes and objects are easier to wrap than others, but if you follow our step-by-step tutorials, you’ll have neatly wrapped gifts no matter their shape in no time.
What You’ll Need
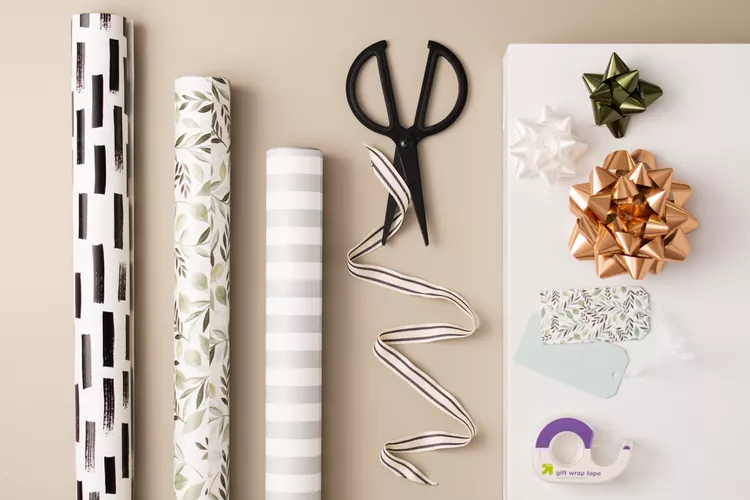
Equipment / Tools
- Scissors
Materials
- Wrapping paper
- Tape
- Ribbon
- Self-adhesive bow
- Marker or decorative gift tags
Instructions
Wrap a Square or Rectangular Box
This is the easiest of all the shapes to wrap, as you can make nice, clean folds. If you have an oddly shaped item such as a toy or something non-structured such as a shirt or a sweater, you can purchase a gift or shirt box to hold the item to make wrapping easier and neater.
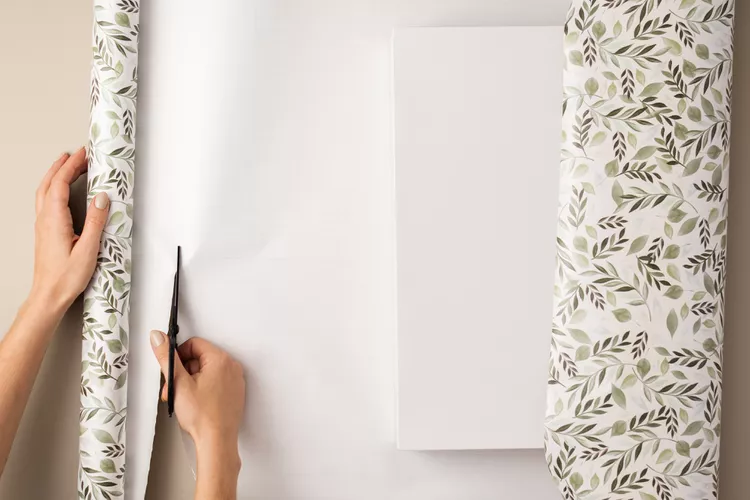
1.Unroll and Cut Paper
Clear a flat surface and place a roll of wrapping paper on it face side down, ensuring you have enough space to unroll it. Position the box on the wrapping paper, and loosely fold the sides over the box to make sure you have enough, then cut the paper.
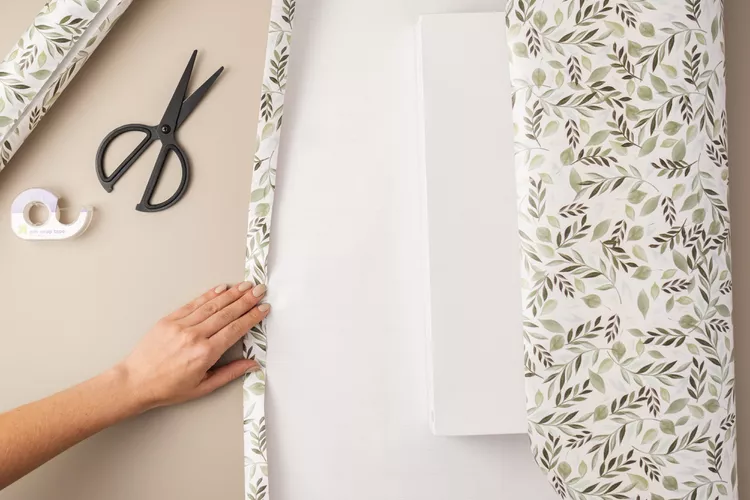
2.Fold the Cut Edges
Now that you have cut the paper, reposition the box again so that it’s in the center of the wrapping paper. Take the cut end of the paper, and make an inch wide fold so that all sides are nice and straight and there aren’t any wavy scissor lines on one end.
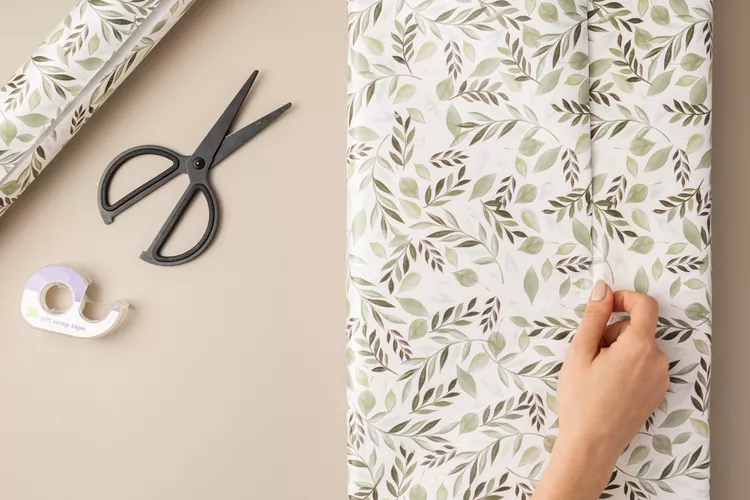
3.Fold Paper Over Each Side of Box
Take one side of the paper and fold it over the box tightly, then take the other side and do the same, overlapping the first layer of paper and securing it with a small piece of regular or double-sided tape.
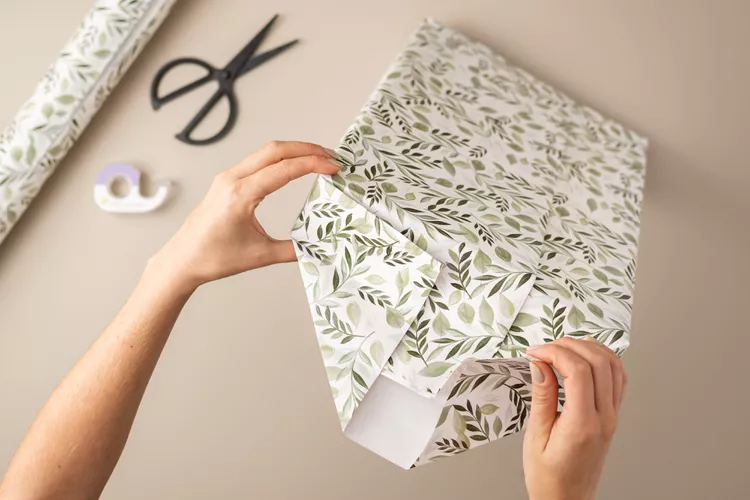
4.Triangle-Fold Each End
Next, take one of the ends that’s showing the unwrapped box and fold down the top part of the wrapping paper (the overlapping ends) making a nice, clean fold at the top. Then do the same with the two sides of the wrapping paper and you will be left with only the bottom that will now be triangle-shaped. Fold it over the top of the three already folded sides and secure it with a piece of tape, then follow the same steps on the other side of the box.
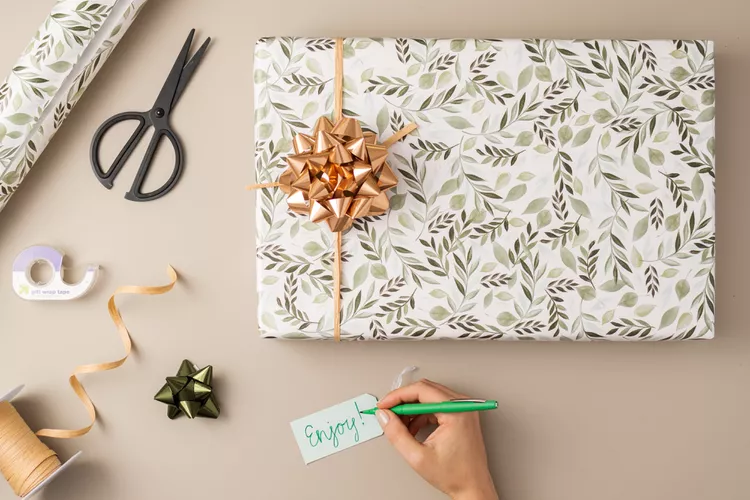
5.Add a Bow, Ribbon, or Tag (Optional)
Add a self-adhesive bow or wrap some decorative ribbon around the gift to make it extra festive, and either write the recipient’s name or attach a cute gift tag with their name on it.
Wrap a Cylinder-Shaped Gift
Wrapping a cylinder-shaped item such as a perfume bottle or a vase isn’t as tricky as it may seem, just follow the below steps and you’ll have a neatly wrapped gift in no time!
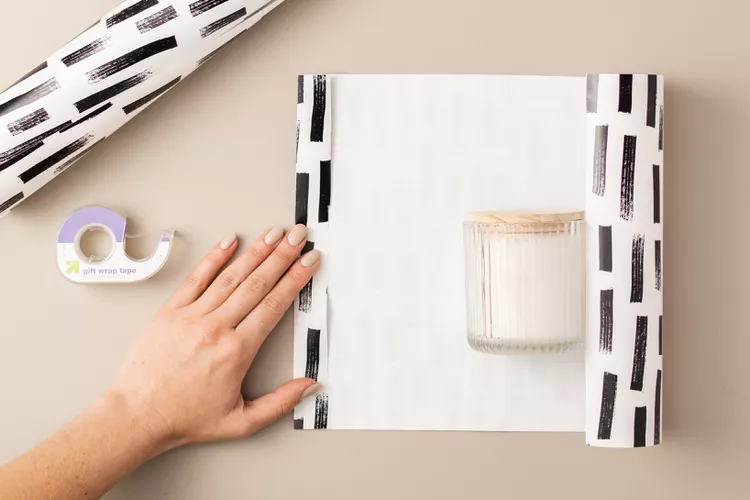
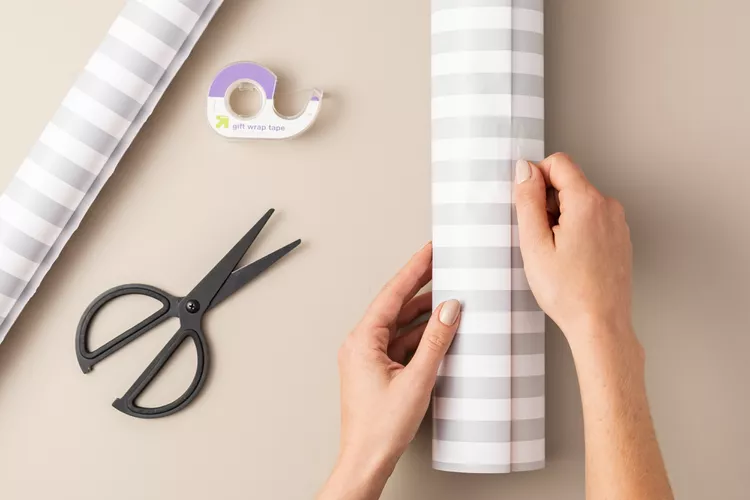
1.Gauge and Cut the Paper
Begin by placing your wrapping paper face side down on a flat surface and positioning your cylinder-shaped gift on it. Loosely fold both sides of the wrapping paper over the gift to gauge how much paper you will need, then cut it.

2.Fold Over the Edges
Reposition your gift in the center of the cut paper, then make a one inch fold on each of the cut sides of the paper to make sure you have nice, straight lines.
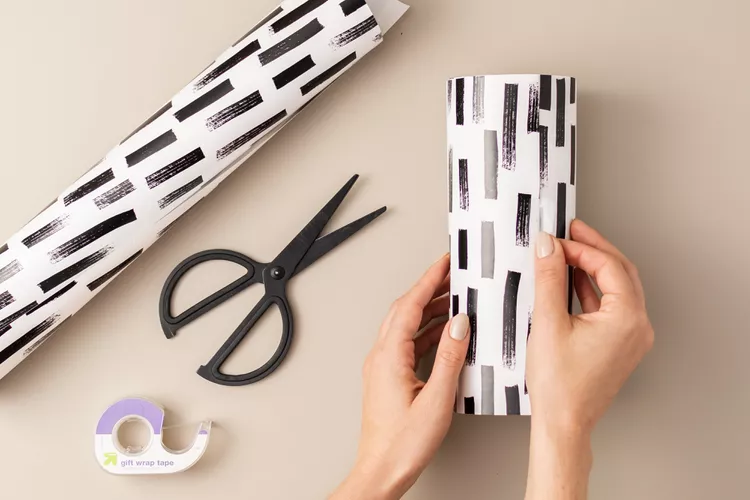
3.Roll the Gift In the Paper
Bring the cylinder-shaped gift to one end of the paper and begin rolling, until it is fully covered with wrapping paper and secure the end with tape.
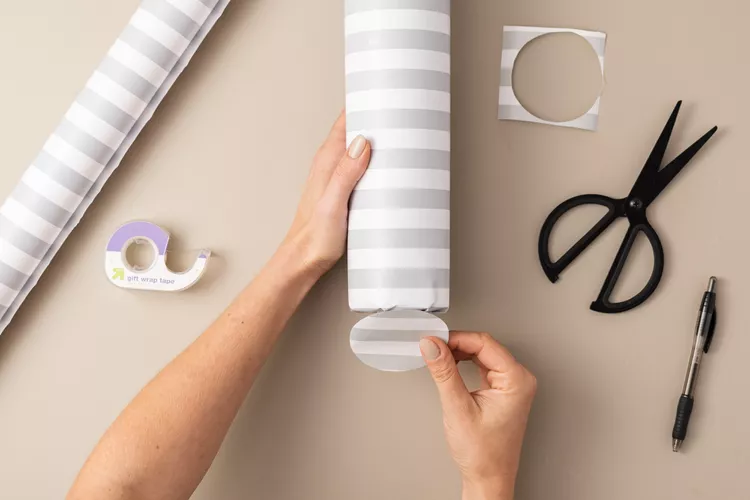
4.Fold the Ends Bit by Bit
Reposition the gift inside the wrapping paper so that it’s in the center and there is about two-inch overhang of the paper (depending on the diameter of the object) on either end. Starting with one end, begin to gently fold the wrapping paper overhang over the cylinder base or top, making the folds as neat as possible. Once you have reached the end of the circle, stick a piece of tape on top to secure it. Repeat the same process with the other end.

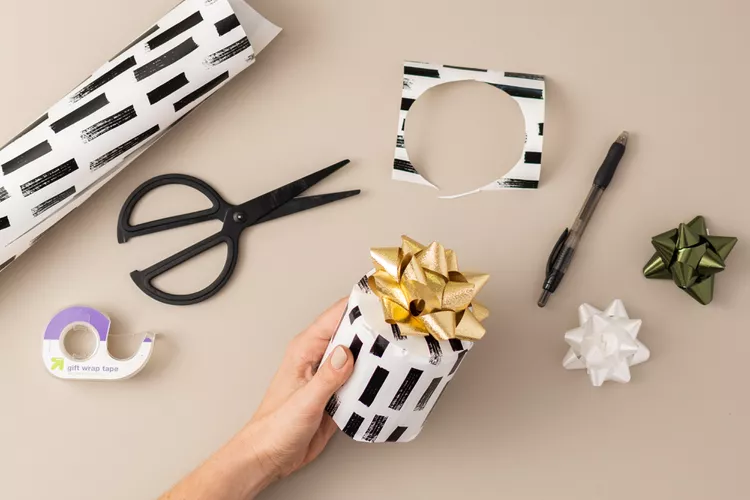
5.Cover Ends With Paper
Then, take a piece of the same wrapping paper and trace a circle of the diameter of the cylindrical gift onto it twice. Cut the two circles out and stick one on the top and the other on the bottom of the gift using double-sided tape to cover the wrapping paper folds. For an extra decorative touch, add a self-adhesive bow onto the top part of the gift.
Wrap a Bottle
Whether you’re going to a housewarming party or over to a friend’s for dinner, a nice bottle of wine makes a great gift. Instead of just bringing the bottle, make the gift extra special by wrapping it.
1.Gauge and Cut the Paper
As with the previous two wrapping methods, begin by placing your wrapping paper face side down on a large flat surface. Lay the bottle down and fold the two sides of wrapping paper over it to estimate how much paper you will need, then make the cut.

2.Fold the Edges and Roll
Make a one inch fold on both cut ends of the wrapping paper so you have a clean edge, then bring the bottle to one of the ends and begin rolling it, until you’ve used up all the wrapping paper. Secure it with tape.
3.Fold Bottom Section In and Cover
Reposition the bottle if needed, ensuring that there’s enough paper on either end of it. Take the bottom end, and gently begin to make tight folds until you’ve reached the end, then use a piece of tape to stick it down. Trace a circle of the diameter of the bottle onto a piece of the same wrapping paper, cut it out, then stick it on the bottom of the bottle with double-sided tape to hide all the folds.
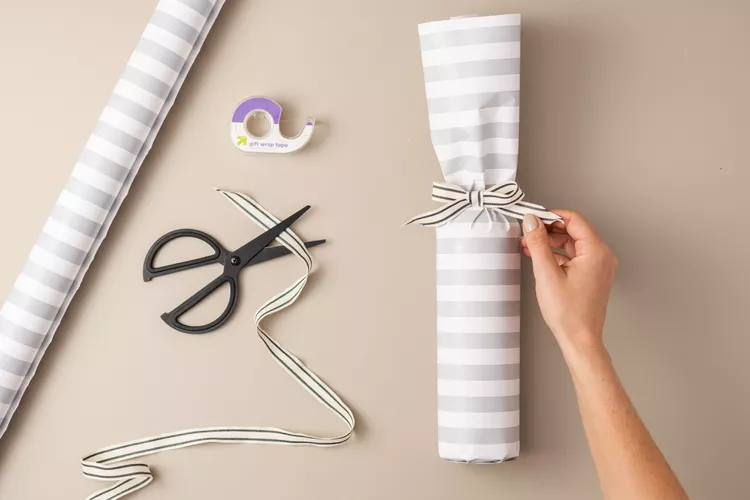
4.Scrunch and Tie Paper at the Top
Stand the bottle up, then grab the neck, scrunching up the wrapping paper so you end up with a candy wrapper end style look at the top of the bottle. Take a piece of tape and tightly wrap it around the neck so it holds its shape. Take some ribbon and tie it around the neck, making a festive bow to finish it off.